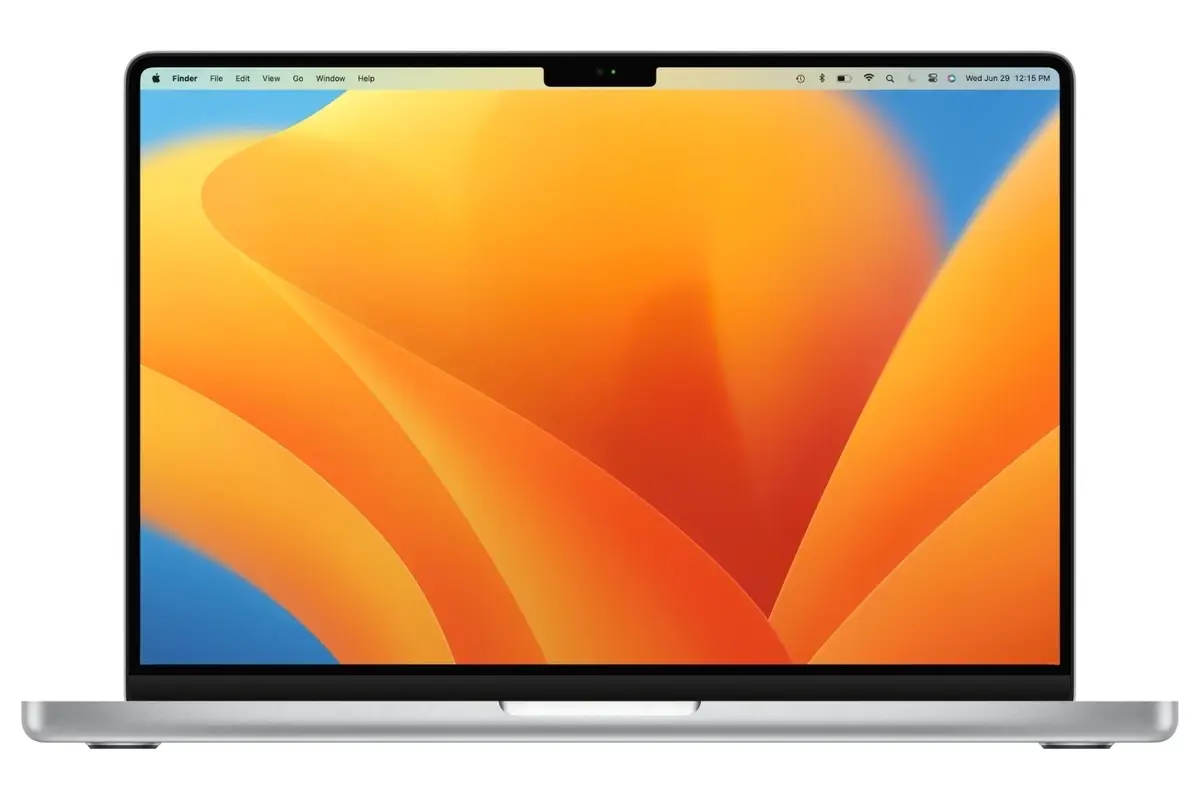
Bring Back missing Network Location in macOS Ventura :Have you ever gone to find a file on your computer, only to realize that the network location where it should be is missing? If you’re using macOS Ventura, this is a problem you may have recently encountered. In this blog post, we’ll explore how to bring back the missing network location in macOS Ventura. We’ll also provide some troubleshooting tips in case the issue persists.


What is macOS Ventura?
Table of Contents
macOS Ventura is a new operating system from Apple that brings many new features and improvements to the Mac. One of the most notable new features is the ability to create and use network locations. This feature allows you to easily switch between different networks, such as your home network and your work network.


If you’re using a Mac with macOS Ventura, you may have noticed that the option to create a network location is missing from the Network pane in System Preferences. This can be frustrating, especially if you need to switch between networks often. Fortunately, there’s an easy way to bring back the missing network location option.
Network Location Removed from macOS Ventura
If you’ve accidentally removed a network location from your macOS Ventura computer, don’t worry – you can easily add it back. Here’s how:
1. Open the Network pane in System Preferences.
2. Click the “+” button to add a new location.
3. Enter the name and address of the network location you want to add.
4. Click “Create.”
Your network location should now be added back to your computer!
How to Bring Back the Network Location in macOS Ventura
Assuming you have already set up a network location in macOS Ventura, follow these steps to bring it back:
1. Open System Preferences and click on the Network icon.
2. In the left sidebar, select Locations and then click the cog icon below.
3. A sheet will drop down with all of your saved locations. Select the one you want to use and click Set as Default.
4. Close System Preferences and open Finder. You should now see your network location listed under Devices in the sidebar.
If Above Steps Doesn’t Works for you, Simply Execute the Below Given commands on Your MacOS Ventura :
networksetup -getcurrentlocation
networksetup -listlocations
networksetup -createlocation <location name> [populate]
networksetup -deletelocation <location name>
networksetup -switchtolocation <location name>
Bring Back the missing Network Location in macOS Ventura
If you recently updated to macOS Ventura and are missing the Network Location option in your Finder sidebar, don’t worry- you can easily get it back! Just follow these simple steps:
1. Open Finder and click on the “Finder” menu at the top of the screen.
2. Select “Preferences” from the drop-down menu.
3. In the Finder Preferences window that appears, click on the “Sidebar” tab.
4. Make sure that the “Network Locations” option is checked in the sidebar options list. If it’s not, simply check the box next to it and then close the Finder Preferences window.
5. Your Finder sidebar should now include a “Network Locations” section, which will allow you to access any shared drives or folders on your local network!
Background
If you recently upgraded to macOS Ventura and found that your Network Location is missing, don’t worry! You can easily bring it back by following the steps below.
1. Open System Preferences and click on the Network icon.
2. Make sure that the “Show VPN status in menu bar” option is checked.
3. Click on the VPN icon in the menu bar and select “Connect to Server.”
4. Enter the URL or IP address of the server you want to connect to and click “Connect.”
5. If prompted, enter your username and password.
6. Once connected, your Network Location will be available in the Finder window sidebar under “Shared.”
The Solution
If you’re missing the Network Location button in macOS Ventura, don’t worry – there’s a simple solution! Just follow these steps:
1. Open System Preferences and click on the Network icon.
2. In the left-hand sidebar, select your active network connection (e.g. Ethernet or Wi-Fi).
3. Click the Advanced button in the right-hand pane.
4. Select the TCP/IP tab and click the Renew DHCP Lease button.
5. Finally, click the Apply button and then close System Preferences.
That’s it! This should bring back the Network Location button so you can access all of your shared resources on your local network once again.
Conclusion
If you’re missing the Network Location option in your macOS Ventura, don’t worry – it’s easy to get back. Just follow the steps in this article and you’ll be up and running in no time. And if you ever have any other questions about your macOS Ventura, be sure to check out our other articles or reach out to our support team for help.
