AOMEI Partition Assistant Pro 9 Free License Key (April 2024)
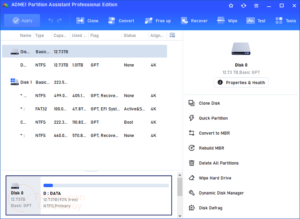
AOMEI Partition Assistant Pro 9 Free License Key (April 2024): Strong disk management software is the key to managing hard drives well. AOMEI Partition Assistant Pro 9 stands out as a powerhouse among the many options available. It has a full set of features that …