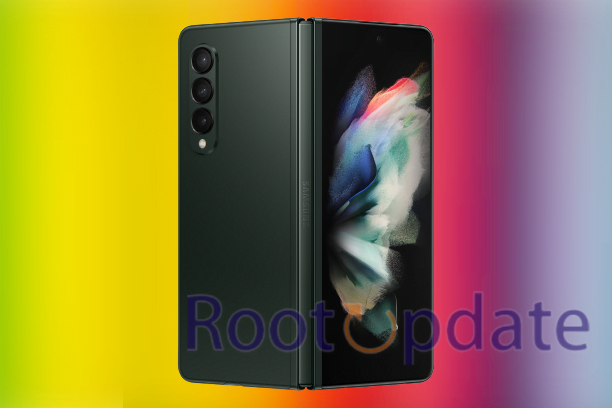
Enable Call Recording in Galaxy Z Fold 3/4: Assuming you have a Galaxy Z Fold 3 or 4, you can enable call recording in just a few simple steps. This feature can be useful in a number of different scenarios, whether you’re conducting an interview or just want to remember a conversation. Here’s how to enable call recording on your Galaxy Z Fold 3 or 4. Follow the simple steps given below to Enable call Recording on Samsung Galaxy Z fold 3 or Z fold 4.


What is Call Recording?
Table of Contents
There are a number of reasons why you might want to enable call recording on your Galaxy Z Fold 3/4 smartphone. Perhaps you want to keep a record of an important business call, or Julybe you just want to be able to listen back to a conversation with a friend or loved one. Whatever the reason, it’s easy to enable call recording on your Galaxy Z Fold 3/4 smartphone.


To enable call recording, simply open the Phone app and tap on the three dots in the top right-hand corner. From here, select ‘Settings’ and scroll down to the ‘Call settings’ section. Within this menu, you’ll see an option for ‘Voice recordings. Tap this and then toggle the switch next to it to ‘On’.
Once you’ve done this, all calls made from your Samsung Galaxy Z Fold 3/4 smartphone will be automatically recorded and saved in the ‘Recordings’ folder within the Phone app. You can access this folder at any time by tapping on the three dots in the top right-hand corner of the app and selecting ‘Recordings’.
How to Enable Call Recording on Samsung Galaxy Z Fold 3/4


Assuming you have a Galaxy Z Fold or Fold 2:
From the home screen, swipe up to access Apps.
Tap Settings.
Select Advanced features.
Toggle on the Call recording switch. If prompted, review the disclaimer and tap Allow.
The Best Call Recording Apps for Galaxy Z Fold 3/4
There are many call recording apps available for Galaxy Z Fold devices, but not all of them are created equal. In this guide, we’ll show you the best call-recording apps for your Galaxy Z Fold 3 or 4.
Whether you’re looking to record incoming or outgoing calls, there’s an app that can help you do it. Many of these apps also offer advanced features like cloud storage and automatic recording, so you can make sure your recordings are always safe and accessible.
1. Automatic Call Recorder by Cube ACR
Automatic Call Recorder by Cube ACR is one of the most popular call recording apps on the Play Store, and for good reason. It offers a clean and easy-to-use interface, and it supports both incoming and outgoing calls. You can also choose to automatically record all calls, or only those from selected contacts.
Call Recorder – ACR is another excellent option for recording calls on your Galaxy Z Fold. It has a similar feature set to Automatic Call Recorder by Cube ACR, but it also includes a few extras like the ability to playback recordings in multiple speeds, and the option to password-protect your recordings.
Galaxy Call Recordings is a great choice if you’re looking for a simple call recorder that just works. It doesn’t have any fancy features, but it does support both incoming and outgoing calls
How to Disable Call Recording on Galaxy Z Fold 3/4
If you’re using a Galaxy Z Fold 3 or Galaxy Z Fold 4 and don’t want your calls recorded, there are a few steps you can take to disable call recording. First, open the Phone app and tap on the three dots in the top-right corner. Next, tap on Settings and scroll down to the Record Calls section. Here, you’ll see an option to Turn off call recording. Tap on this to disable call recording on your device. You can also choose to turn off call recording only for certain contacts by tapping on the gear icon next to their name in your Contacts list.
Conclusion
Overall, enabling call recording in your Galaxy Z Fold 3 or 4 is a relatively simple process. By following the steps outlined in this article, you should be able to get the feature up and running in no time. And once you start using it, we’re sure you’ll find that it’s a valuable addition to your phone’s capabilities. So go ahead and give it a try — you might be surprised at just how often you end up using it.
