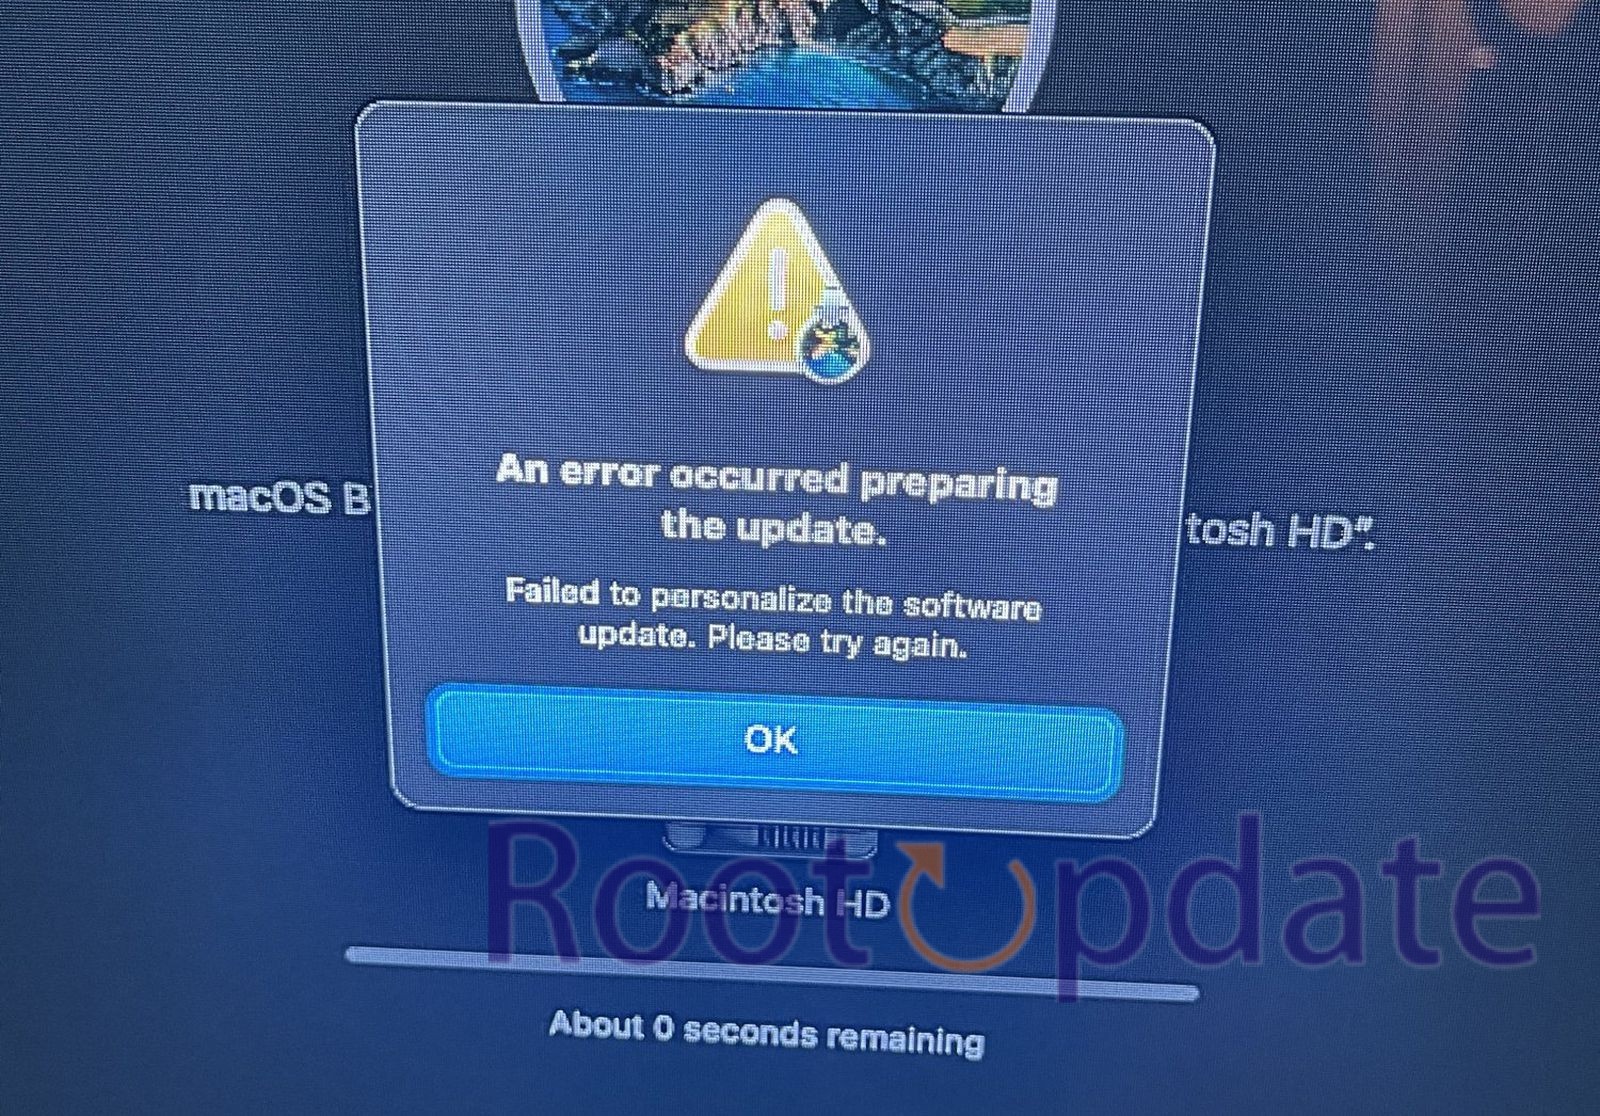
Fix Failed To Personalize The Software Update On Mac: Are you a Mac user who is struggling with the frustrating error message, “Failed to Personalize the Software Update”? Well, fear not! You’ve come to the right place. In this blog post, we will dive into the reasons behind this issue and provide you with effective solutions to fix it.
Updating your software is important for maintaining optimal performance and security on your Mac. However, encountering errors during the update process can be quite annoying. So, let’s get started and put an end to this pesky problem once and for all! Whether you’re using Apple Silicon or Intel-based Macs, we’ve got you covered with practical fixes that will have your software updates running smoothly in no time. Let’s jump right in!
Reason Behind Failed To Personalize The Software Update On Mac
Table of Contents

- Corrupted Download: The macOS update file might have been corrupted during the download process.
- Insufficient Storage: Your Mac might not have enough free storage space to install the update.
- Unstable Internet Connection: An inconsistent or unstable internet connection might interrupt the download or installation process.
- System Glitches: Temporary glitches or bugs in macOS could interfere with the update process.
- Outdated Apple ID Settings: Your Apple ID settings July need to be updated or verified.
- Disk Errors: There might be errors or corruption in the startup disk, which can interfere with the update process.
- Conflict with Third-Party Software: Some third-party applications or services running on your Mac might interfere with the software update.
- Expired macOS Beta: If you were using a beta version of macOS, it might have expired, causing issues with updates.
- Server Issues: Apple’s servers could be experiencing high traffic or issues, delaying or preventing the update from being personalized for your device.
- Incompatibility: Rarely, the update might not be compatible with your specific Mac model or configuration.
Remember, identifying the exact reason in a specific scenario July require additional troubleshooting.
How to Fix Failed To Personalize The Software Update On Mac

One common issue that Mac users July encounter when trying to update their software is the dreaded “Failed to Personalize” error message. This error can be frustrating and prevent you from accessing important updates for your system. But fear not, as there are several solutions you can try to fix this problem.
FIX 1: Install in Safe Mode
Safe Mode is a useful troubleshooting tool that can help resolve various issues on your Mac, including problems with software updates. When you boot your Mac in Safe Mode, it only loads essential system files and drivers, which can eliminate any potential conflicts or errors that July be preventing the software update from personalizing.
Installing macOS in Safe Mode on an Apple Silicon Mac:
- Shut down your Mac.
- Press and hold the power button until the startup options window appears.
- Select “Options” and click “Continue.”
- Follow the on-screen prompts to reinstall macOS.
Installing macOS in Safe Mode on an Intel-based Mac:
- Shut down your Mac.
- Press the power button and immediately press and hold the Shift key.
- Release the Shift key upon seeing the login window.
- Log in to your account.
- Proceed with the macOS installation.
Additional Notes:
- Installing macOS in Safe Mode means starting from a clean state.
- This process prevents interference from third-party apps or extensions.
- Consider this method if there are issues personalizing a software update.
FIX 2: Download from App Store
One of the possible solutions to fix the “Failed to Personalize Software Update” issue on your Mac is by downloading the update directly from the App Store. This method can help bypass any potential issues that July arise during the standard software update process.
Downloading Software Updates Directly from the App Store:
- Open the App Store on your Mac.
- Locate it in the Applications folder or use Spotlight search.
- Navigate to the “Updates” tab at the top of the window.
- View all available updates for system and apps.
- Identify any pending software updates.
- Click the “Update” button next to them.
- Ensure a stable internet connection during the download and installation to prevent complications.
- After all updates are downloaded and installed, restart your Mac.
- Check if the “Failed to Personalize Software Update” error persists during future update attempts.
Note:
- Using the App Store directly can often bypass and resolve personalizing software update issues on Mac. Give this method a try to tackle the problem.
FIX 3: Use Terminal Commands
If you’re experiencing the “Failed to Personalize” error while trying to update your Mac software, using Terminal commands might just do the trick. This method requires a bit of technical knowledge, but it can help resolve the issue.
First, open Spotlight by clicking on the magnifying glass icon in the top-right corner of your screen. Type “Terminal” and press Enter to launch it.
In the Terminal window, enter the following command:
- Navigate to Launchpad > Others > Terminal.
- Input
softwareupdate -lto view available updates. - Note the specific update’s name.
- Install the update using:
softwareupdate --install NAME
If the name contains spaces, enclose it in single quotes:
softwareupdate --install 'NAME'
Remember, if you’re not comfortable working with Terminal or unsure about executing these commands, it’s always best to seek assistance from an experienced user or contact Apple Support for guidance.
FIX 4: Turn off VPN
One common reason why you might encounter the “Failed to Personalize” error when trying to update software on your Mac is if you have a VPN (Virtual Private Network) enabled. While using a VPN can provide privacy and security, it can sometimes interfere with the software update process.
- Begin by turning off your VPN.
- This prevents conflicts during the update process from server redirection.
- Navigate to System Preferences on your Mac.
- Select the “Network” option.
- Locate your active connection (Wi-Fi or Ethernet).
- Click on the minus (-) button at the bottom left corner.
- This will remove any existing VPN connections.
- Attempt the software update once again.
Note:
- Turning off the VPN might resolve personalization errors during updates.
- After updating your software, you can re-enable your VPN for online security purposes.
FIX 5: Repair Disk via Disk Utility
One possible solution to fix the “Failed To Personalize The Software Update” issue on Mac is to repair the disk using the built-in Disk Utility tool. This method can help resolve any underlying disk errors that might be causing the problem.
- Access LaunchPad > Others > Disk Utility.
- Opt for View > Show All Devices.
- Expand the sequence: Disk > Container > Volume.
- Repair in the order of Volume > Container > Disk.
- Once repairs are complete, reattempt the update.
If repairing your disk doesn’t solve the problem, you can move on to trying other potential fixes mentioned in this article.
FIX 6: Install via Bootable USB Installer
If you’ve tried all the previous fixes and still can’t personalize the software update on your Mac, don’t worry – there’s one more method you can try. This involves creating a bootable USB installer and using it to install the update.
Creating a Bootable USB Installer for macOS:
- Preparation:
- Ensure you have a blank USB drive with a minimum of 16GB storage.
- Access another Mac or macOS device to download necessary files.
- Download macOS Installer:
- Obtain it from the App Store or Apple’s official website.
- Prepping the USB Drive:
- Connect your USB drive to the Mac.
- Open Disk Utility.
- Format the drive as “Mac OS Extended (Journaled).”
- Rename the drive to something recognizable.
- Create the Bootable Installer:
- Open Terminal.
- Enter the appropriate command to create the bootable installer (Note: The specific command can vary depending on the macOS version).
- Wait for the process to complete. Duration depends on your internet speed and computer performance.
- Installing from the Bootable USB:
- Restart your Mac.
- Hold down the Option key during startup.
- Select the USB drive as the boot device to initiate the macOS installation.
Caution:
- This method is best suited for those familiar with advanced macOS procedures.
- If unsure about any steps, consult with an experienced tech professional
Remember to back up all important data before attempting any system updates or modifications!
Stay tuned for more helpful tips on resolving common Mac issues!
Related:
- Chrome not working on Mac :This site can’t be reached ERR_FAILED {Fixed}
- Fix: MacOS 13.5 “Put Hard Disks To Sleep” Missing
- Fix: Black Screen Issue On MacOS 14 Sonoma Beta 4
Conclusion
Encountering the “Failed to Personalize” error when trying to update software on your Mac can be frustrating. However, with the solutions mentioned in this article, you should be able to resolve the issue and successfully update your system.
Remember, if you experience this error, try installing in Safe Mode or downloading from the App Store. You can also use Terminal commands or turn off VPN to fix the problem. Additionally, repairing the disk via Disk Utility or installing via a bootable USB installer July help resolve any underlying issues causing the error.
It’s important to keep your Mac up-to-date with software updates as they often come with bug fixes and security enhancements. By following these troubleshooting steps, you can ensure that you have access to all of Apple’s latest features and improvements.
If none of these solutions work for you or if you are unsure about performing any of these steps on your own, it is recommended to seek assistance from an authorized Apple service provider or contact Apple Support directly for further guidance.
Stay proactive in maintaining your Mac’s performance by regularly checking for software updates and addressing any issues promptly. With a little effort and troubleshooting know-how, you’ll be able to overcome hurdles like “Failed to Personalize” errors and enjoy a seamless software updating experience on your Mac.