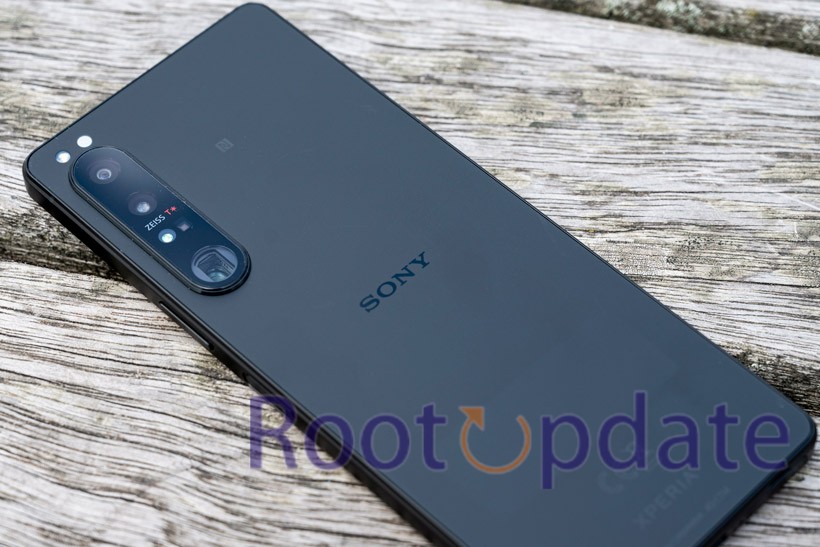
Flash Modem Of A Different Region On Xperia 1 IV/V: Unlocking the full potential of your Xperia 1 IV/V is a desire shared by many tech enthusiasts. And one way to achieve this is by flashing the modem of a different region on your device. By doing so, you can broaden its horizons and access features that were previously unavailable in your current region. In this blog post, we will explore the reasons behind flashing the modem of a different region on Xperia 1 IV/V and guide you through the process step by step. So grab your Xperia and get ready to take it to new heights!
We’ll walk you through the complicated process of flashing a different region’s modem on your Sony Xperia 1 IV/V device in this complete guide. This method not only allows you to take advantage of the wide features of the Japanese variation, but it also tackles unique constraints present in other regional variants.
Maximizing RAM and Bootloader Flexibility
Table of Contents
The Japanese version, marked as [1 V], has a massive 16GB of RAM, a significant boost from the internal variant’s 12GB. Additionally, unlike its US equivalent, this type enables for simple bootloader unlocking. These benefits make the Japanese edition desirable to international consumers, particularly those in Europe, the United States, and Taiwan, who frequently import the gadget from Japan.
Overcoming WiFi 6E Limitations
Importing the Japanese variety, on the other hand, presents its own set of issues. The Japanese edition, unlike the US version, does not support the WiFi 6E 6GHz frequency range. While the 5GHz frequency is adequate, it makes no sense to forego the higher spectrum when the hardware is fully capable of supporting it. This limitation is notable for being software-based.
How To Flash Modem Of A Different Region On Xperia 1 IV/V


Follow these detailed steps to address limitations and unlock the full network potential of your Sony Xperia 1 IV/V:
1. Install Drivers:
- Begin by installing the necessary drivers for your Xperia 1 IV | 1 V on your PC. Ensure that your PC recognizes your device before proceeding.
2. Download Firmware:
- Utilize XperiFirm to download the firmware corresponding to your desired region. Choose the firmware that aligns with your network requirements.
3. Extract and Transfer Modem Files:
- Extract the downloaded firmware files and identify the three modem files. Transfer these modem files to a new folder for easy access during the flashing process.
4. Install NewFlasher:
- Download NewFlasher and install it on your PC. Copy the NewFlasher.exe file into the folder where you stored the modem files. This ensures that all necessary files are in one location.
5. Boot into Flash Mode:
- Connect your Xperia 1 IV/V to your PC using a USB cable. Boot your phone into flash mode by holding the Volume Down button during the boot process. This allows the device to be ready for the flashing procedure.
6. Execute Flashing:
- Open the Command Prompt (CMD) on your PC and navigate to the folder containing the modem files and NewFlasher.exe. Run newflasher.exe in CMD to initiate the flashing process.
Note: Ensure that your Xperia device remains connected throughout the flashing process. The newflasher tool will handle the firmware installation.
By following these steps, you can unlock the full network potential of your Sony Xperia 1 IV/V, addressing limitations and optimizing your device for enhanced network performance. Always exercise caution and ensure that you have a stable connection during the flashing process to avoid any interruptions.
Forcing 5G Enablement After Modem Flashing:
After successfully flashing the modem, follow these additional steps to force enable 5G on your Sony Xperia 1 IV/V:
1. Open Phone App and Dial Code:
- Open the phone app on your Xperia device and dial ##4636##. This will access the hidden menu for phone information.
2. Navigate to Phone Information:
- In the hidden menu, navigate to “Phone Information.” Locate the three dots in the top right corner and select them to reveal additional options.
3. Select Radio Band:
- From the additional options, choose “Radio Band.” This will allow you to specify the frequency bands used for communication.
4. Choose Desired Region:
- Within the “Radio Band” settings, select the desired region, for example, the US. This step ensures that the device is configured to utilize the specific frequency bands associated with the chosen region.
5. Set Preferred Network Type:
- Go back to the main menu and find the “Preferred Network Type” setting. Set it to NR/LTE/GSM/WCDMA. This configuration prioritizes the use of 5G (NR) networks when available, while still supporting LTE, GSM, and WCDMA.
6. Verify NR Availability and State:
- After configuring the network type, verify that “NR Available” is set to True and “NR State” is set to NOT_RESTRICTED. This ensures that the device is actively seeking and utilizing 5G networks without restrictions.
By meticulously executing these procedures, you will not only unlock the full power of the flashed modem, but you will also optimize your Sony Xperia 1 IV/V for the latest network technologies, including 5G force enablement. These options help to ensure that your device makes the most of the available network capabilities.
Related:
Congratulations! You’ve successfully flashed a new region’s modem onto your Sony Xperia 1 IV/V, overcoming limits and expanding its capabilities. If you have any questions or concerns about these processes, please leave them in the comments section below. Rootupdate’ staff is dedicated to offering quick and efficient solutions to improve your mobile experience.
