Change Xperia Quick Switch/Recents Screen: Are you tired of the same old Xperia Quick Switch/Recents Screen on your Sony smartphone? Looking to add a touch of personalization and make your device truly yours? Well, you’ve come to the right place! In this blog post, we’ll show you how to change the Xperia Quick Switch/Recents Screen and give your phone a fresh new look. Say goodbye to boredom and hello to customization – let’s dive in!
What is Xperia Quick Switch/Recents Screen
Table of Contents

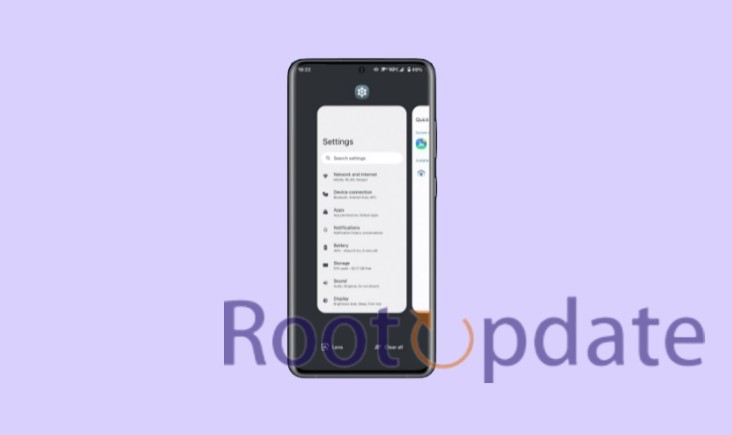
The Xperia Quick Switch/Recents Screen is a feature on Sony Xperia smartphones that allows users to easily switch between recently used apps. It provides a convenient way to multitask and navigate through different applications with just a few taps.
- Recents Screen Overview:
- The Recents Screen, accessed by tapping the Recent Apps button, displays a list of your most recently used apps in card-like tiles.
- Time-Saving and Convenient:
- This feature saves time by allowing you to quickly switch between apps without returning to the home screen or searching through your app drawer.
- Enhanced User Experience:
- Xperia Quick Switch/Recents Screen enhances your overall user experience by enabling seamless task-switching, such as replying to messages while watching videos or checking emails while using social media.
- Customization Power:
- You can customize the Xperia Quick Switch/Recents Screen to match your preferences and style for a more visually appealing and functional experience.
The customization options empower you to tailor the Recents Screen according to your liking.
Why The need to Change Xperia Quick Switch/Recents Screen
This feature can be convenient for some, there may be times when you want to change or customize the layout of this screen.
- Personalization:
- Customize the Recents Screen to reflect your unique style and preferences.
- Improved Functionality:
- Tailor the layout to make it more efficient for your specific needs, prioritizing important apps or features.
- Enhanced Productivity:
- Organize recent apps for quick access, saving time and increasing productivity.
Customizing the Xperia Quick Switch/Recents Screen offers the flexibility to create an interface that aligns with your individual requirements and enhances your overall user experience.
Things to Remember Before You Start
- Rooted Xperia Device:
- Ensure that your Xperia device has been rooted using Magisk.
- Downloaded Xperia QuickSwitch Module:
- Download the Xperia QuickSwitch Module, which is made available to the community by XDA Senior Member tanto124.
Having these prerequisites in place will enable you to proceed with the customization of the Xperia QuickSwitch/Recents Screen.
Change Xperia Quick Switch/Recents Screen

If you’ve been using Sony Xperia devices, you’ve probably noticed that, while they’re packed with features and performance, there’s one area where some customers wish they had more control: the Xperia Quick Switch/Recents Screen. Sony’s device manufacturing prowess has resulted in some outstanding devices. However, some users find the default app switching screen to be unappealing.
Follow these Simple steps Given below:
1. Root Your Xperia Device:
- First, ensure that your Xperia device is rooted. You can use Magisk, a popular and reliable rooting tool, if you haven’t already.
2. Download the Xperia QuickSwitch Module:
- Download the Xperia QuickSwitch Module and save it to an easily accessible location on your device.
3. Navigate to Magisk:
- Launch the Magisk app on your device.
4. Access the Modules Section:
- Within Magisk, locate and click on the “Modules” section to view the available modules for your device.
5. Install from Storage:
- Click on “Install from Storage” and navigate to the location where you saved the Xperia QuickSwitch Module. Select the module to initiate the installation process.
6. Confirm the Module Installation:
- Upon selecting the module, a prompt will appear. Tap “OK” to confirm and proceed with the installation.
7. Reboot Your Device:
- After successfully flashing the module, reboot your device to ensure proper integration.
8. Fine-Tune Your Preferences:
- After the reboot, go to the “QuickSwitch” section in the settings. Here, you’ll find options to choose a different ‘recent provider app,’ allowing you to customize the app switcher screen according to your preferences.
Related:
Changing the Xperia Quick Switch/Recents Screen is a simple and effective way to customize your Sony Xperia device and enhance your user experience. By following the steps outlined in this article, you can easily switch between recent apps or change the layout of your recents screen.
Whether you prefer a grid view or a list view, or if you want to include app suggestions or not, these customization options allow you to tailor your device to fit your personal preferences.
Remember that customizing your Xperia Quick Switch/Recents Screen can be done through the settings menu on your device. Simply navigate to Settings > Apps & notifications > Default apps > Home app > System UI and select either “Xperia Home” or any other launcher of your choice.
By taking advantage of this feature, you can optimize how you multitask on your Xperia device and make navigating between apps quicker and more efficient.
So go ahead and give it a try! Experiment with different layouts and settings until you find what works best for you. With just a few taps, you can transform the way you interact with your Sony Xperia phone.
In conclusion , changing the Xperia Quick Switch/Recents Screen is an excellent way to personalize and improve the functionality of your Sony Xperia smartphone. Take control over how you navigate through apps by customizing this key feature today!